This article is about running Canonical’s Metal-As-A-Service in a VMware Fusion environment on a Mac for testing and educational purposes.
Let me start out right up front by saying that if you try this, I don’t think you will be successful. It’s a great exercise and you’ll learn a lot, but you won’t actually be able to use your cluster with JuJu for example. If I’m wrong, please drop me a line. The place where mine fails is power control of the nodes enlisted under the MaaS cluster controller. I was unable to get VMware Fusion to do this; maybe you know how, or perhaps running VMware on Windows or Linux rather than the Mac will get you farther.
I was inspired by https://williamlsd.wordpress.com/2014/04/26/installing-local-cloud-infrastructure-using-ubuntu-14-04-lts-maas/ but that was incomplete, and I hoped to finish it.
Even if you do get farther, this is not going to perform well. The reason is that VMware has already used the virtualization support in your CPU. This is really just a demo exercise to get you familiar with the pieces.
The Recipe
Download Ubuntu 14.04 LTS server iso using bittorrent. Took about 7 minutes.
Install VMware fusion. It has a 30 day trial for free.
From VMware, create a new VM and install multi node maas from the ISO.
During the installation, take all the defaults but give it a good hostname and of course your login information. When you login after installation, you’ll see that you have maas 1.5 installed.
apt-cache policy maas{,-dns,-dhcp,-cluster-controller,-region-controller} | grep Installed -B1 -A1
In order to match more recent documentation and this guide, you’ll need to get to v 1.7. In order to upgrade to v1.7, you’ll need to add a repository and reinstall. Ignore the documentation advising you to add ‘cloud-archive:tools’. That gives you a cryptic error message about “keyerror release” which means it doesn’t support 14.04. You’ll need to run:
sudo apt-get install software-properties-common
sudo add-apt-repository ppa:maas-maintainers/stable
sudo apt-get update
sudo apt-get upgrade
sudo apt-get install maas maas-dns maas-dhcp
after boot, add eth1 to /etc/network/interfaces, add static address 192.168.137.10 to eth1:
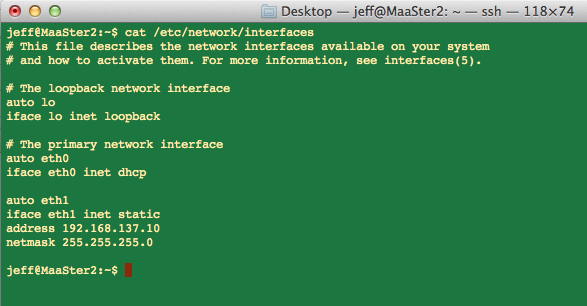
You can use another IP address, but the 192.168.137.* subnet turned out to be essential to get it to boot. The 14.04 image that is netbooted is quite fond of using that subnet, and without that you will succeed to netboot but fail trying to attach an iscsi device because it’s not on the same subnet as the cluster controller.
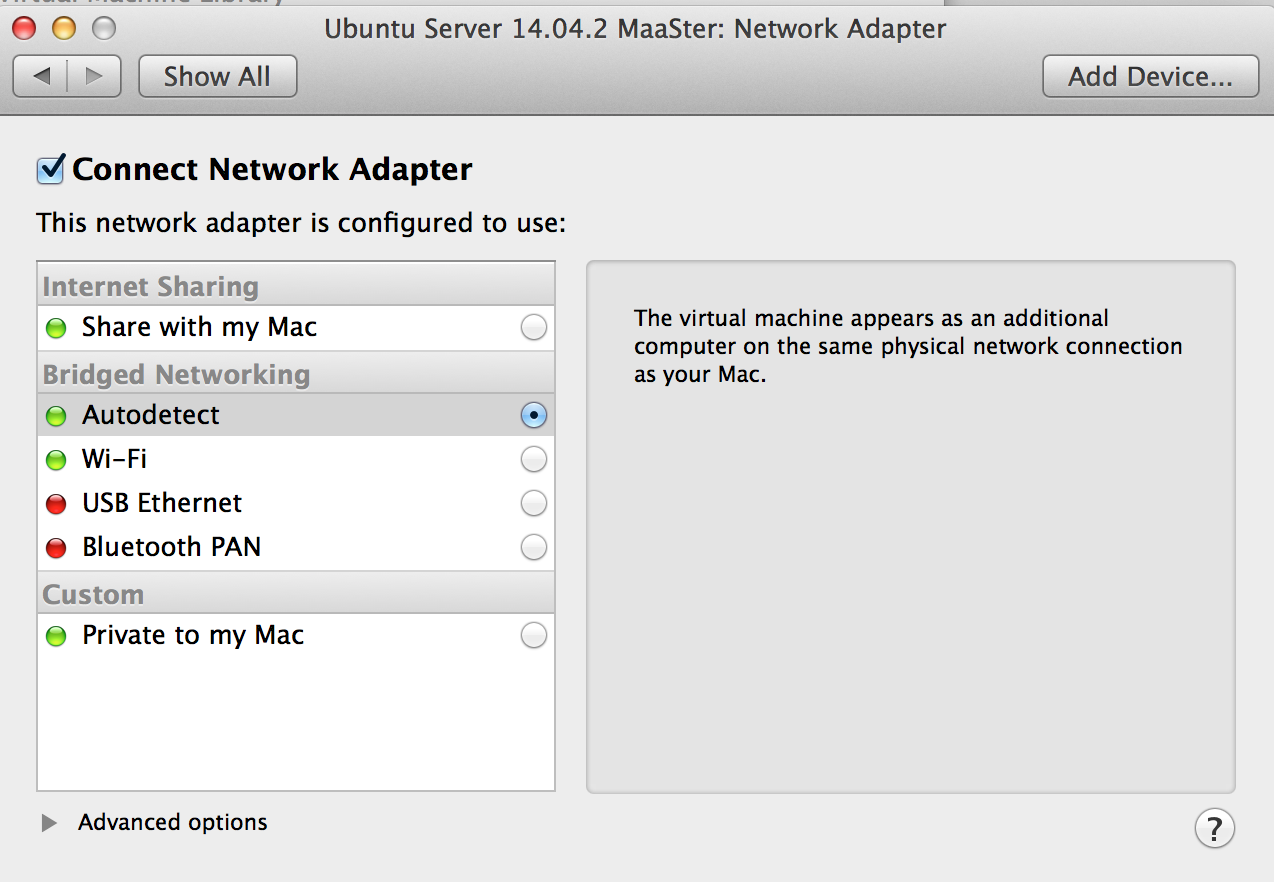
shutdown the instance (“sudo shutdown -h now”) and add eth1 with the vmware GUI: Virtual Machine->Settings->Add Device->Network Adapter->Add->Share with Mac. Then go back or click show all to see Network Adapter 2.
The real secret is to get the networking working properly with the VM and the Mac so we can get to the MAAS GUI from our usual browser. Using the VM GUI (Virtual Machine->Settings), set the first network adapter to bridged mode, Autodetect. This enables you to have an IP address on your physical host that you can use to access the MAAS GUI.
On the second one, use “private to my mac”, which provides a single shared network that the VMs can share – the “managed” network that the MaaS cluster controller provides DHCP addresses and netboot images to clients on.
Start the VM again.
login to the console, edit /etc/ssh/sshd_config and change ChallengeResponseAuthentication to yes. Then
sudo service ssh restart
You can now log in from a terminal window with scroll and copy/paste for easier use. You can use your defined hostname and your login as in:
ssh login@hostname.local
Create an admin user root, use your eMail address instead of the one here:
sudo maas-region-admin createadmin --username=root --email=xxx@yyy.com
note: double dash before username and email, not single dashes.
Then check the new address with ifconfig, 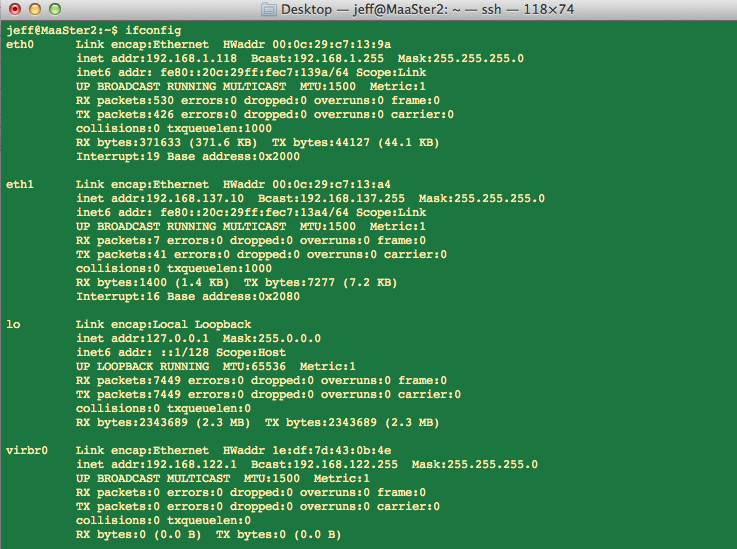
and use the new IP address of eth0 for your MAAS GUI by appending /MAAS to the IP address at your URL: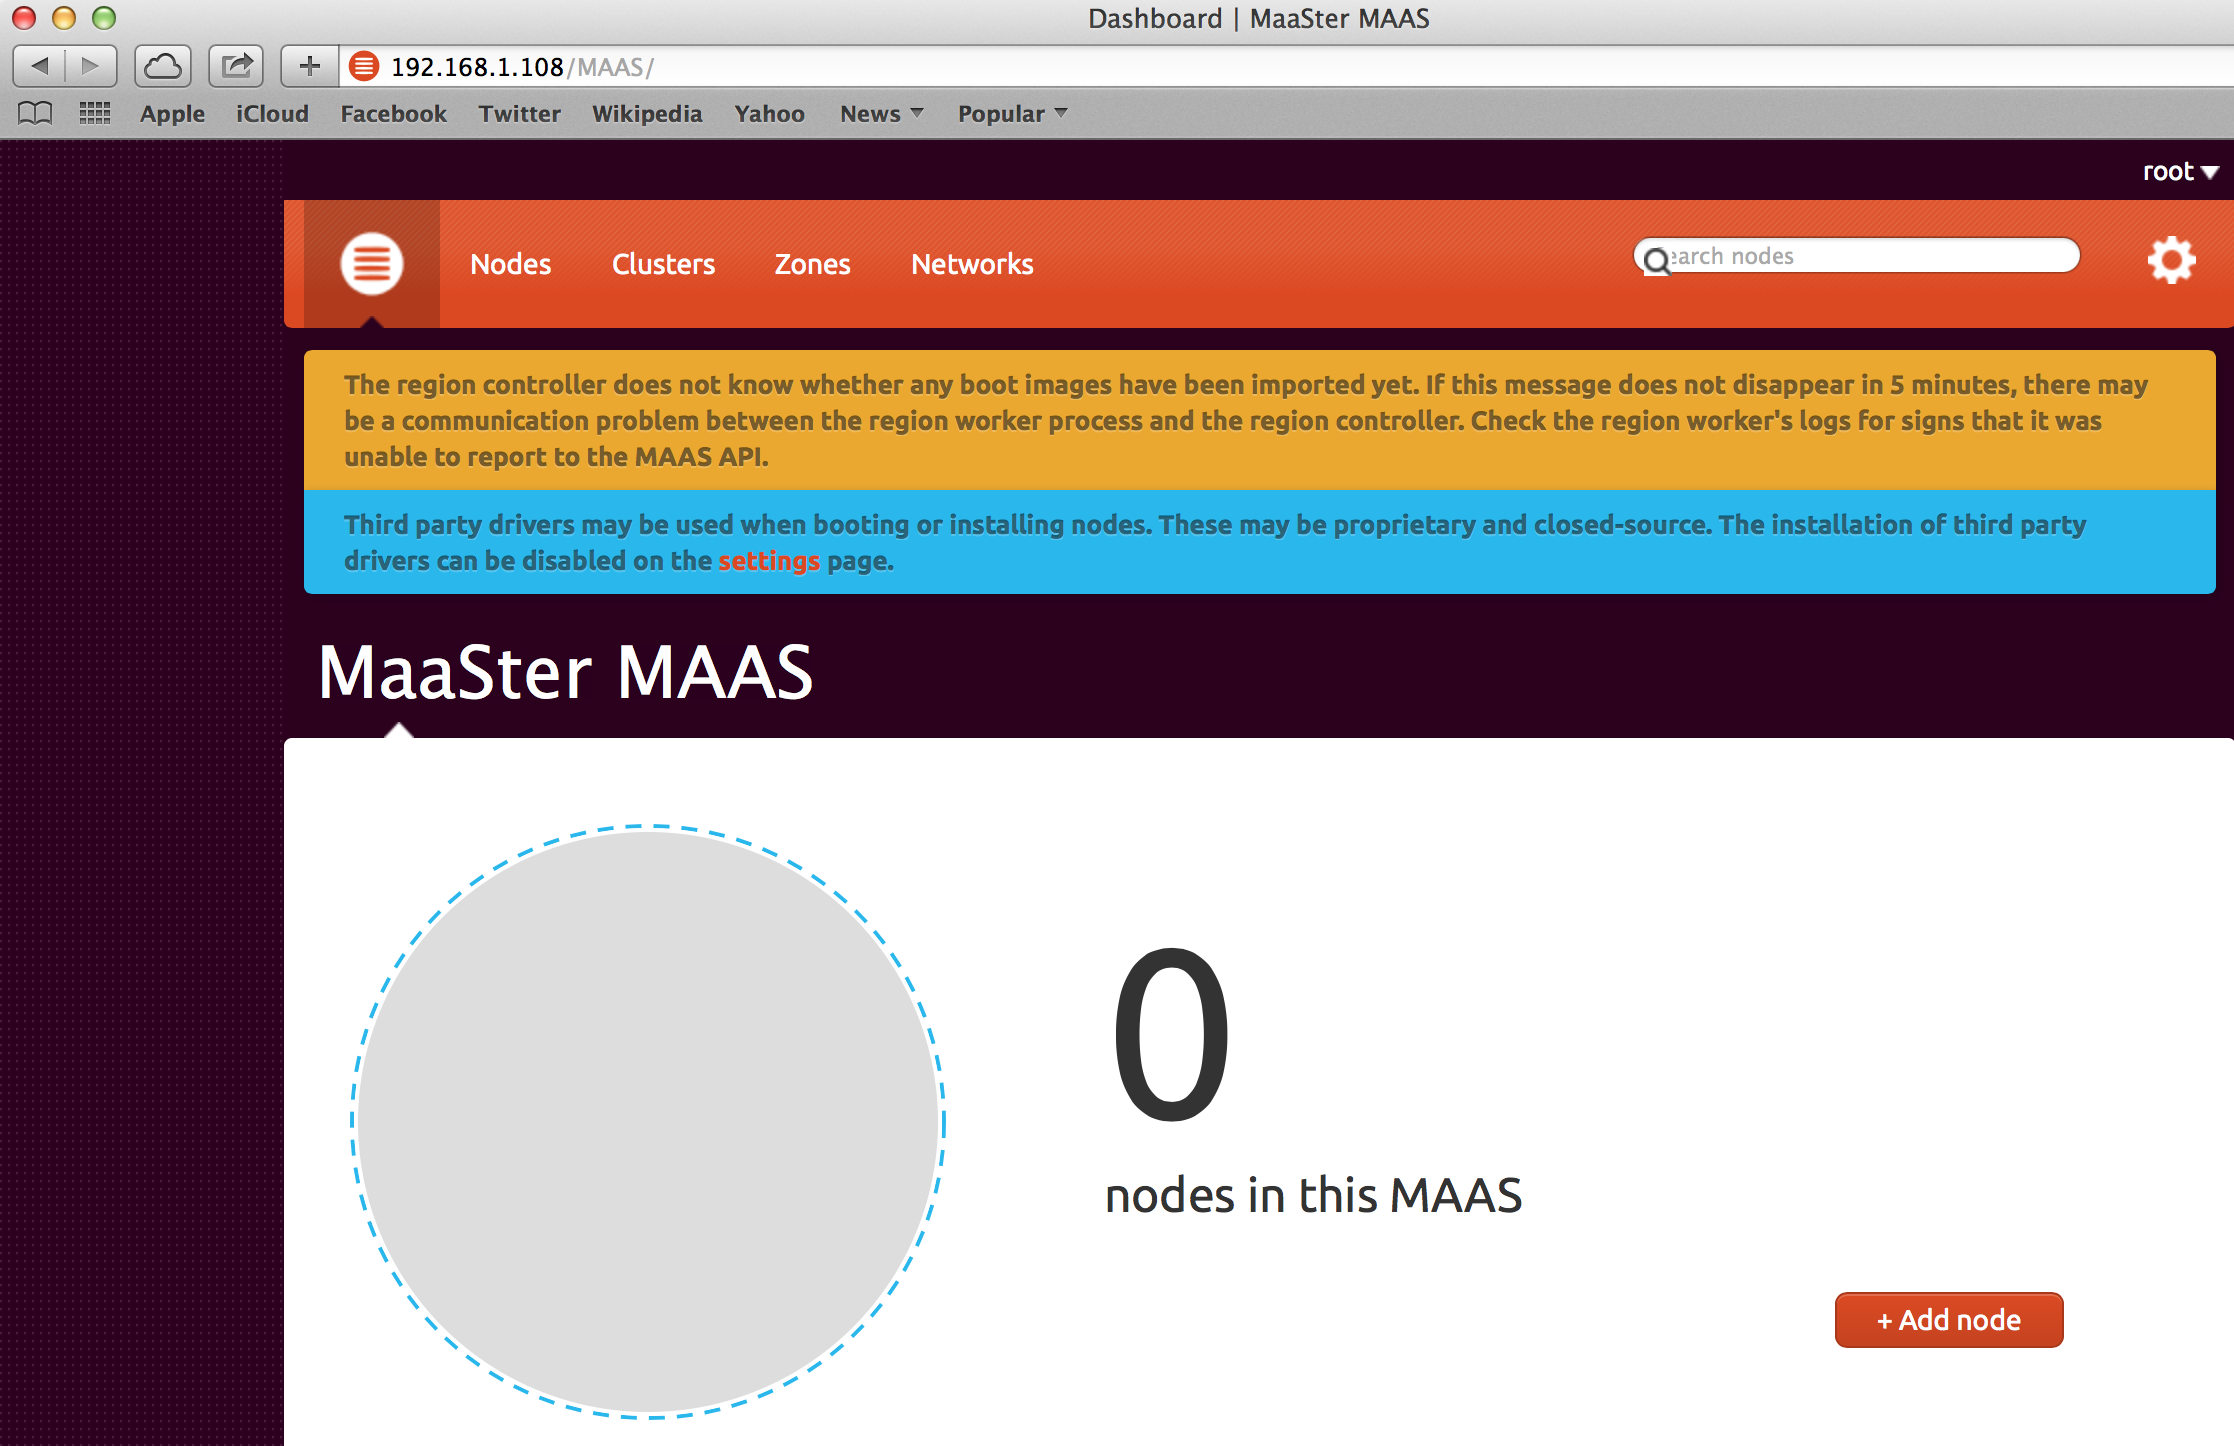
If it looks like that and you have nodes, clusters, AND images links on your GUI, you did well. You should also be able to use your system name for the cluster controller with “.local” appended, then /MAAS.
Define Clusters and Networks
If you’re working so far, you’ll use the GUI to delete the default cluster and Network, then the command line to create a new cluster which will redefine the network.
In a VM terminal session, you need to properly configure the region and cluster controller addresses:
sudo dpkg-reconfigure maas-region-controller
# Use 192.168.137.10
sudo dpkg-reconfigure maas-cluster-controller
# Use 192.168.137.10/MAAS
It’s import to do those in that order, or the cluster controller will be disconnected. You’ll use the 192.168.137.* network to manage all your nodes, and eth0 to connect to the outside world and provide browser access for the MAAS GUI.
Registering your nodes
This is the exciting part. Your nodes will net boot using PXE from the region controller. This will be host OS dependent unfortunately, so if you’re not using MacOS, you’ll have to translate a bit. The trick is to get the VMs to share a network. We’re going to do this with the second network adapter we put on the MaaS region controller, and the one and only network we put on each of the worker nodes.
Create a new VM under Vmware fusion, choose “more options”, “custom virtual machine”, “other/other 64-bit”, take the defaults but “customize settings” and give the node a meaningful name. Then finish. Before booting it, change the network controller to “private to my mac”, and the disk size to at least 26 GB.
Then start it. If you are successful, you’ll see a lot of log messages and a few errors, and it should boot a couple of times and install things and ultimately shut down. At the end, check the “nodes” link on your GUI and you should see a new one with a random name. 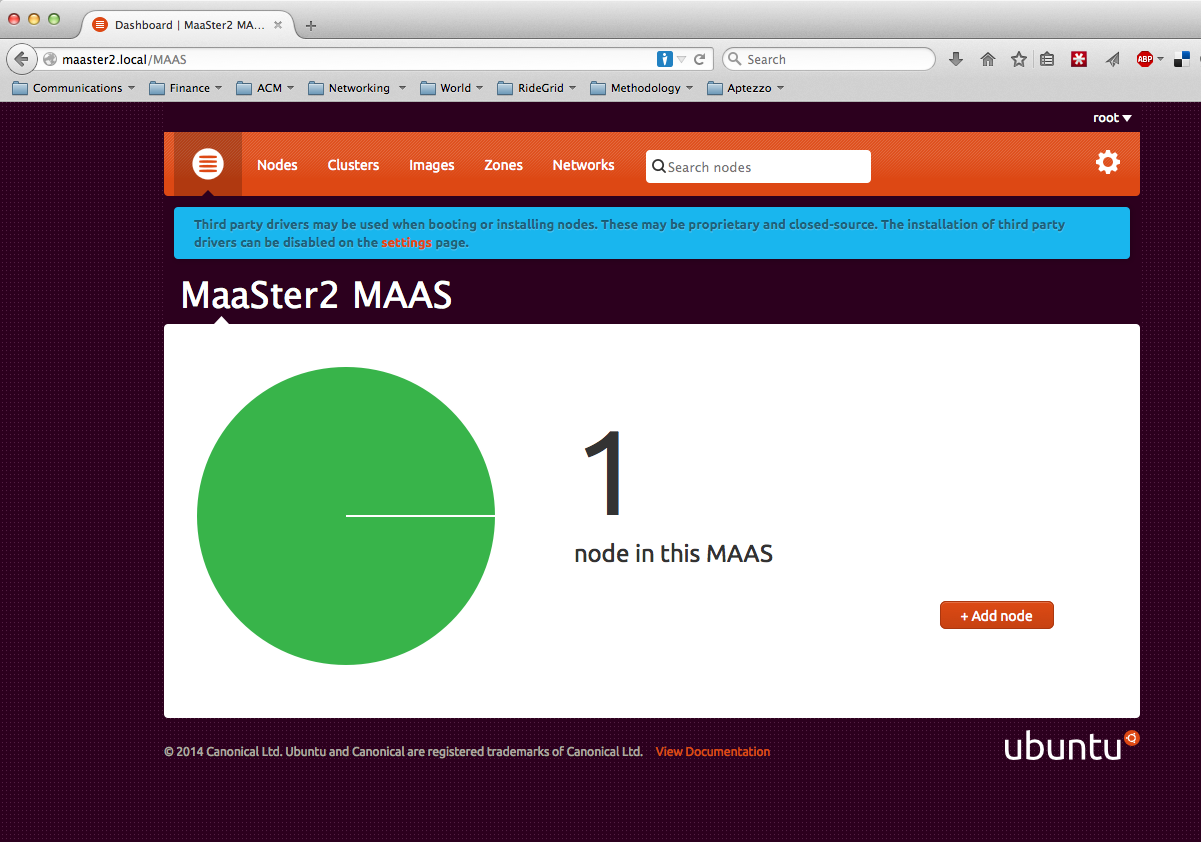
Click the new node name, and you can then “edit” it.

Click on “Edit Node” and then select the power type drop down. You’ll see a number of possibilities. I was unable to make any of them work. My guess is that virsh is the best bet but your mileage may vary.
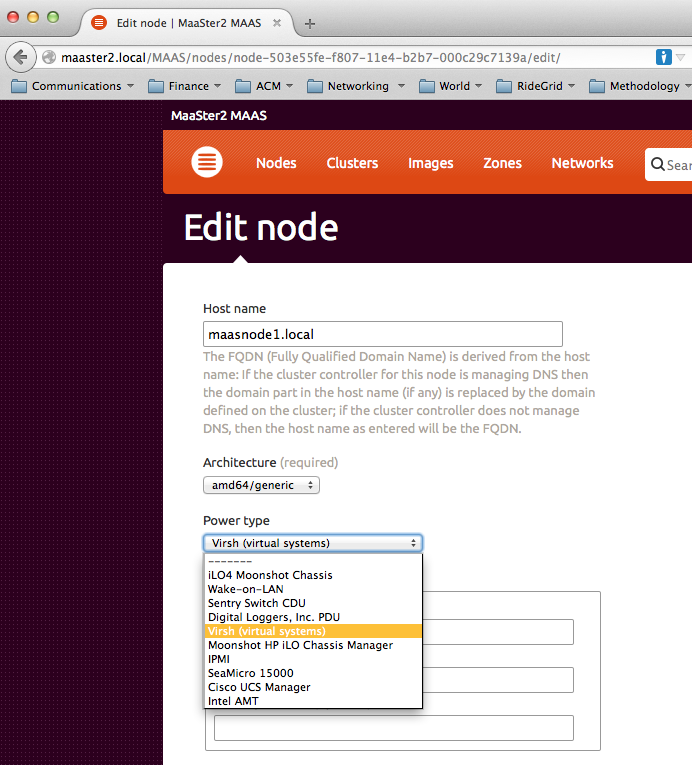
This is not an extra credit item as declared in the williamlsd writeup – it is an essential part of the commission/acquire/run lifecycle.
Good luck! Let me know if you got further! I decided to buy some old servers to continue the research, so I’ll add a new post when I set those up.